Guides › Equipment and inventory
Equipment and inventory
How to see your equipment, confirm receipt, report faults and ask for something new – and how IT and HR use the register, handouts, service and QR labels.
What the module does
Equipment and inventory – Equipment in the menu – is a register of the workplace’s computers, phones, screens, keys, workwear, tools and machines. It shows who has what, and employees can confirm receipt, report faults and ask for new equipment in the app.
My equipment
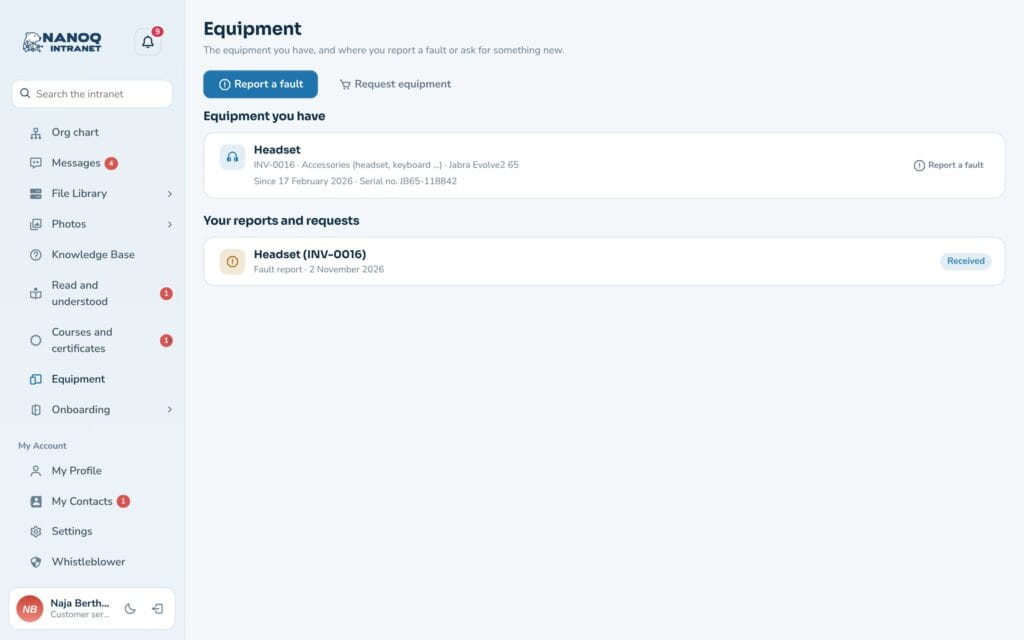
Choose Equipment in the menu. Under Equipment you have is your equipment with inventory number and model – and for loans “Return by”. Below are Your reports and requests with status and answers from IT/HR, and the equipment you have returned.
Confirm receipt
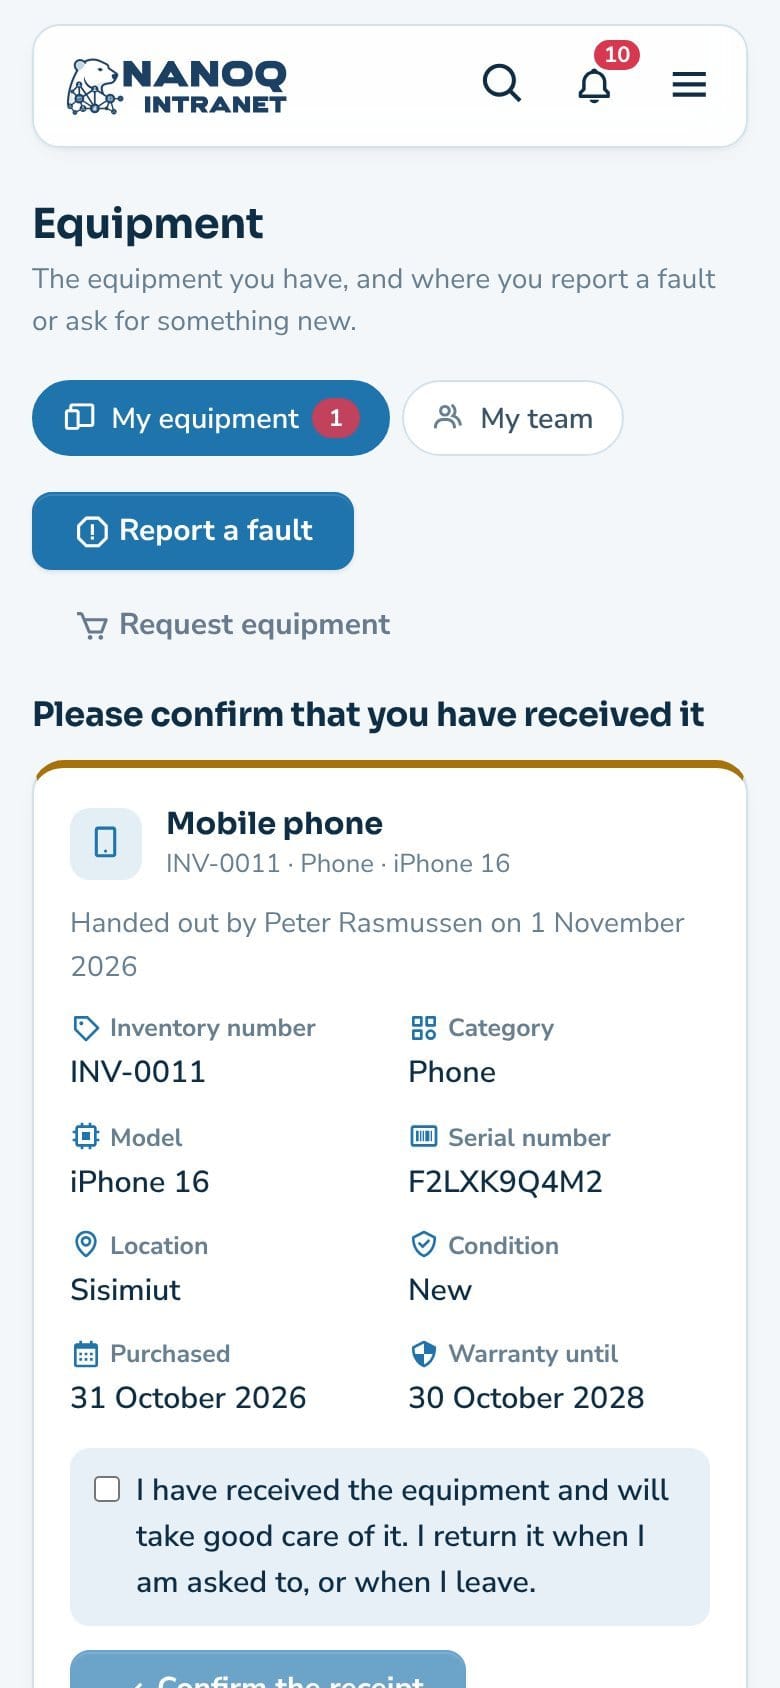
When IT/HR hands something out to you, it is shown under Please confirm that you have received it. Check that it is the right item (inventory number, model and serial number), tick “I have received the equipment and will take good care of it …”, and click Please confirm the receipt. If you haven’t received it, click I have not received it – then IT/HR is notified.
On the phone
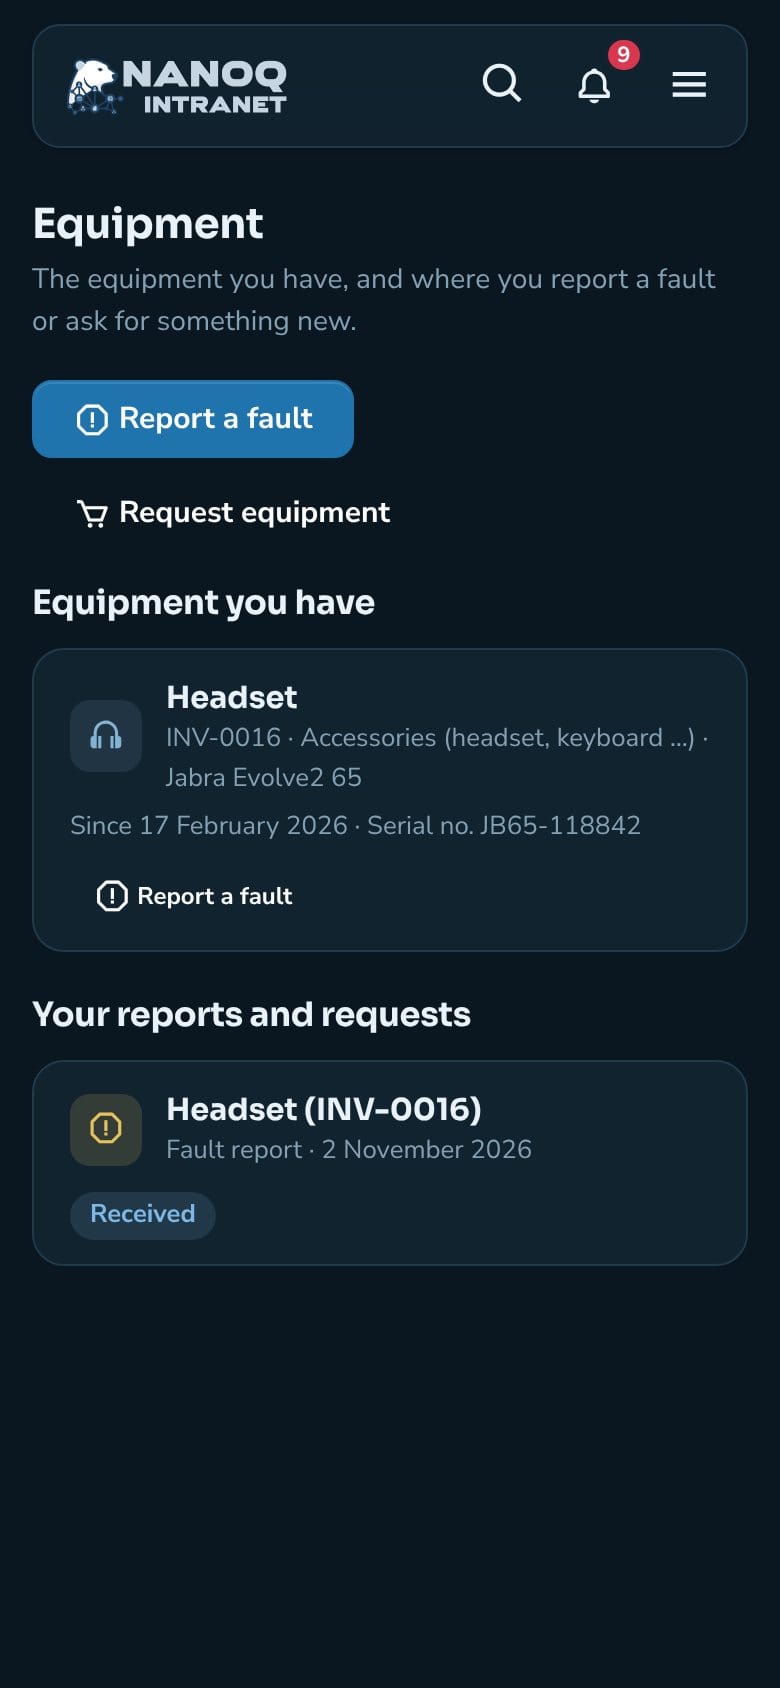
My equipment, receipt and fault reports work on the phone too – also in dark mode. If the equipment has a QR label, you can scan it and report a fault directly.
Report a fault
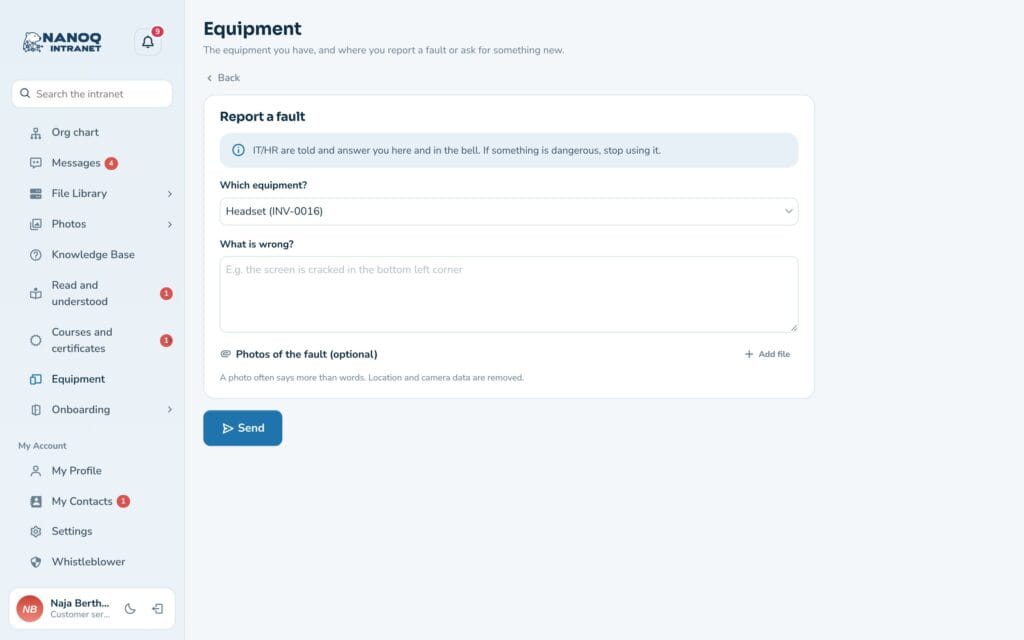
- Click Report a fault (at the top or next to the equipment).
- Under Which equipment? choose your equipment – or Something else (shared equipment, the printer …) and write what it is.
- Describe under What is wrong?, for example “the screen is cracked in the bottom left corner”.
- Click Send.
IT/HR is notified and answers you in the app and under the bell. If something is dangerous, stop using it.
Request equipment
Click Request equipment and fill in What do you need?, the category, optionally Needed by, and why. When the equipment is ready, it is handed out to you, and you confirm receipt.
The register
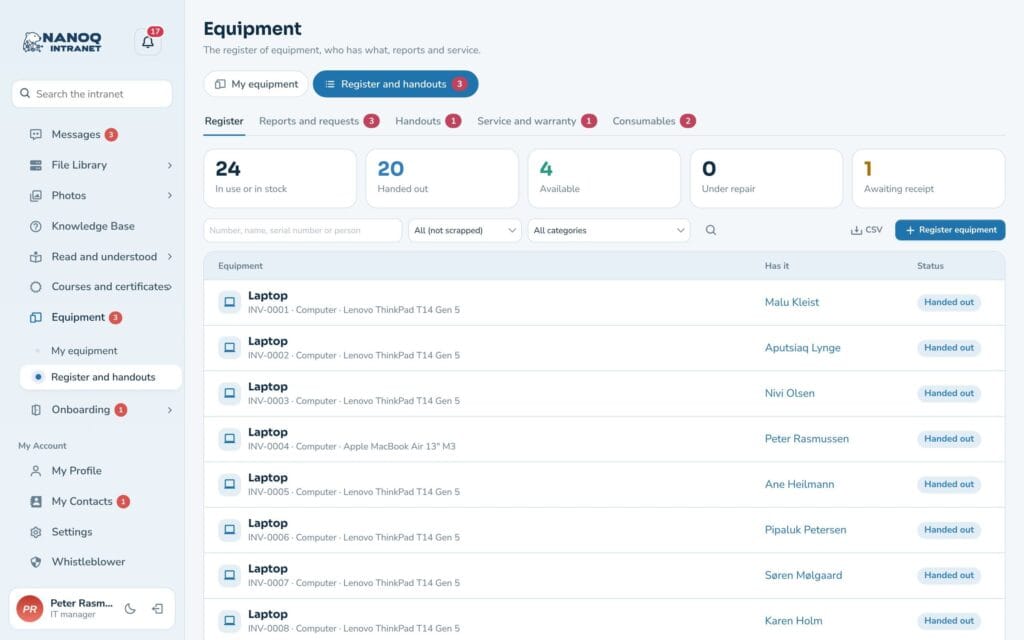
IT and HR choose Equipment → Register and handouts. At the top are the key figures In use or in stock, Handed out, Available, Under repair and Awaiting receipt. Search by number, name, serial number or person, filter by status and category, and download as CSV.
Click Register equipment to create something new: name, category, brand and model, serial number, location and, under Purchase, warranty and service, purchase date, price, supplier, warranty and service every N months. The inventory number is suggested automatically.
Handover and return
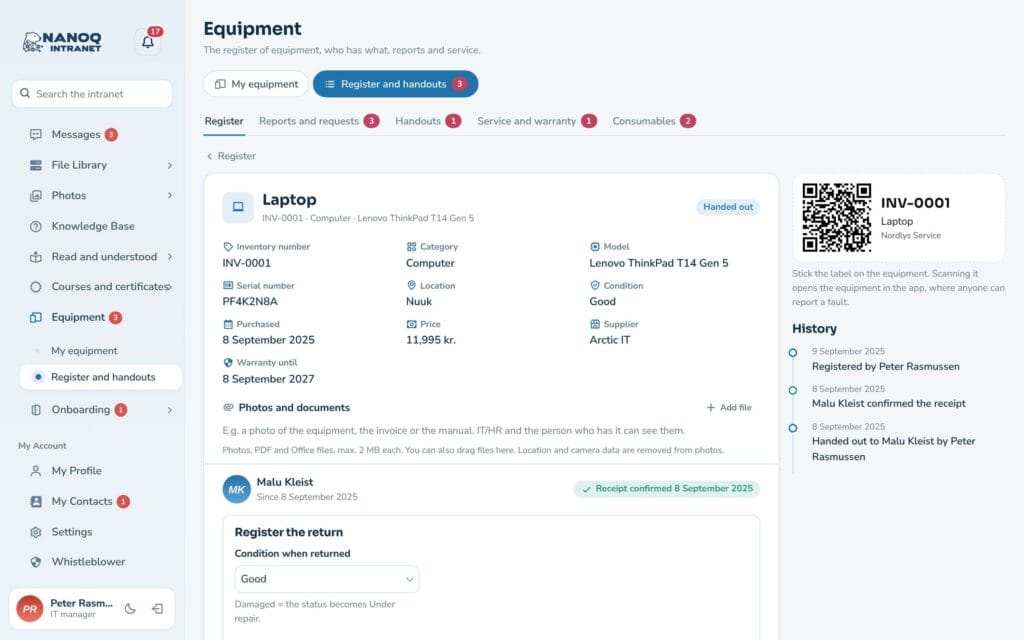
- Open the equipment and click Hand out.
- Choose the person, optionally Return by (optional) for a loan, and a comment, for example “with charger and bag”.
- The person is notified under the bell and confirms receipt in the app.
When the equipment comes back, click Register the return and choose the condition. Damaged = the status becomes Under repair. If it doesn’t come back, choose Not returned – lost.
Reports and requests
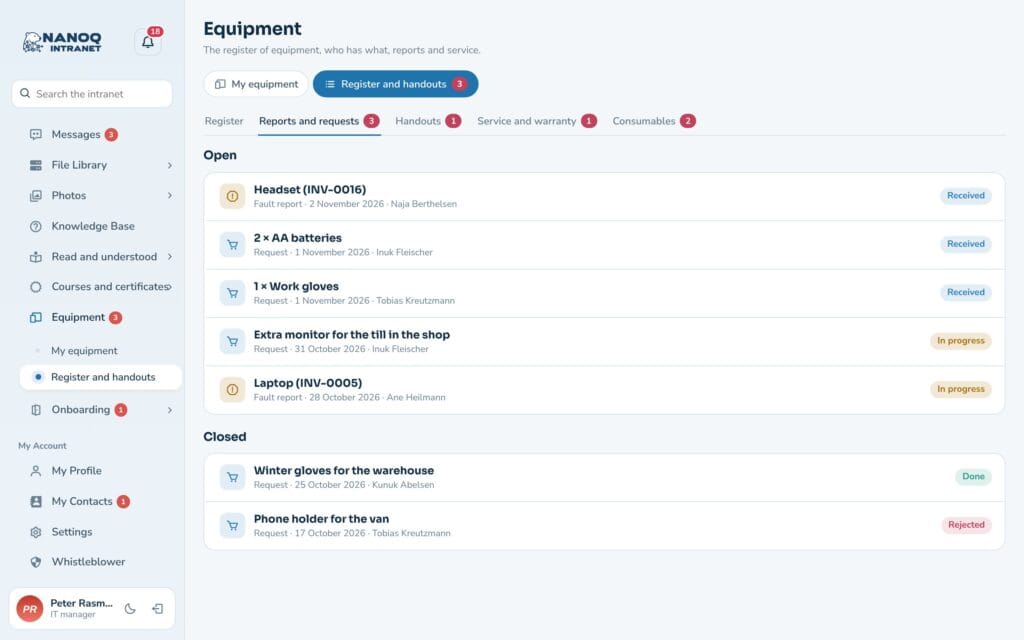
Under Reports and requests are fault reports and requests. Open a case, choose the status (received, in progress, done – or rejected with a reason), write an Answer to the employee, and click Save and tell the employee. For a fault you can set the equipment to under repair, and for a request Find equipment to hand out finds the available equipment.
Service, warranty and handouts
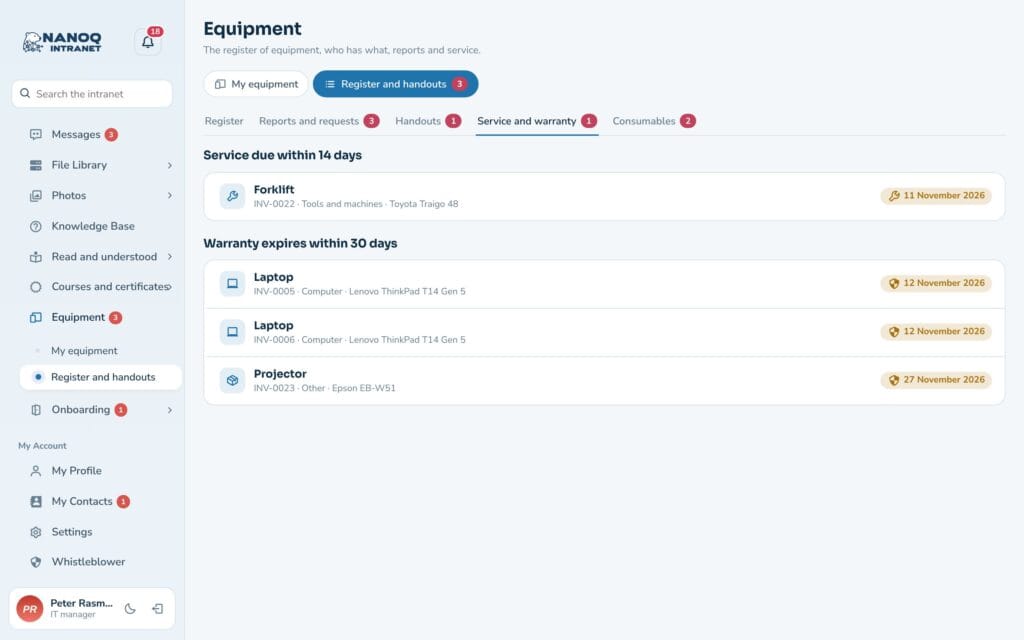
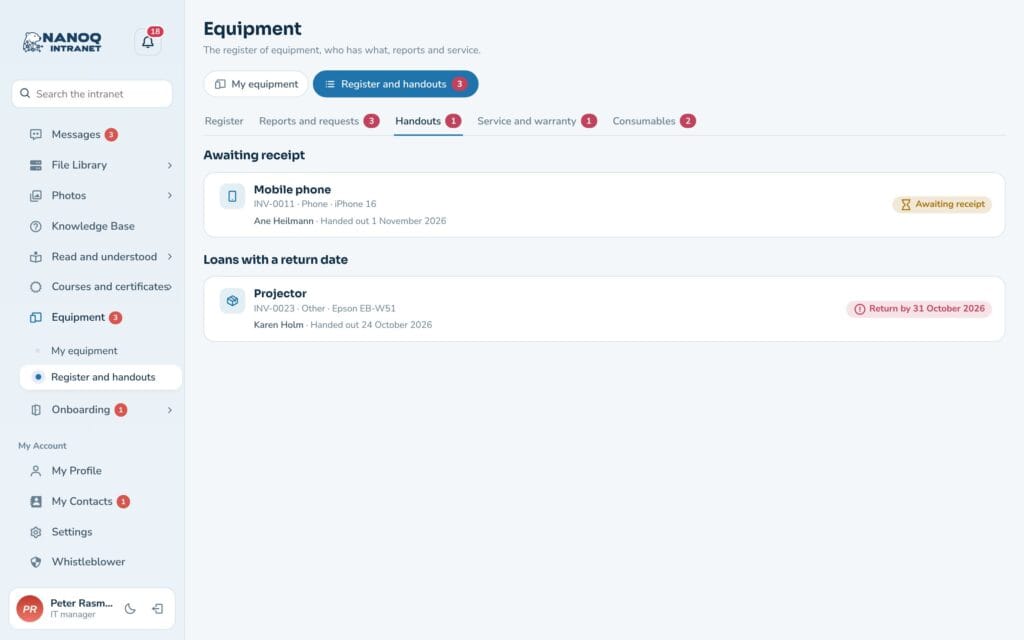
Handouts shows what is awaiting receipt, and loans with a return date. Service and warranty shows service due within 14 days and warranties that expire within 30 days. Click Register service on the equipment when the service has been done – the next one is calculated from the interval.
Consumables
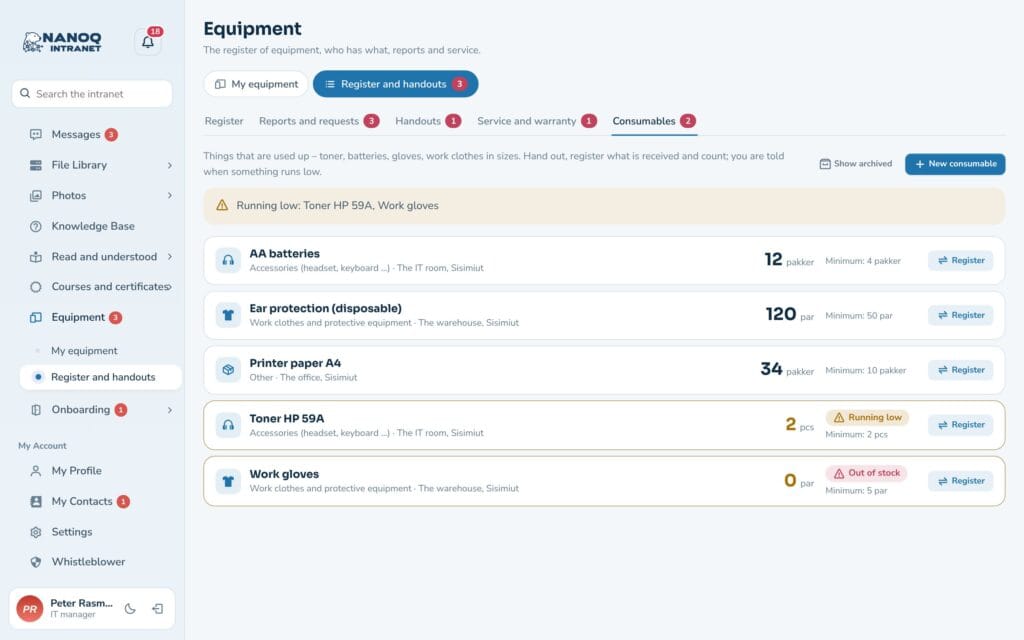
Printer paper, toner, gloves and other things that get used up are under the Consumables tab with quantity and minimum.
- Click New consumable and write the name, quantity and minimum.
- Register what comes in and what is used – the history shows every movement.
- When the quantity reaches the minimum, IT/HR – and for a department’s stock the department’s leaders – are notified.
Equipment and fault reports can also have photos and files – such as the receipt or the manual – and equipment can be found in the shared search: IT/HR find everything, others only their own.
Stock per department and shopping list
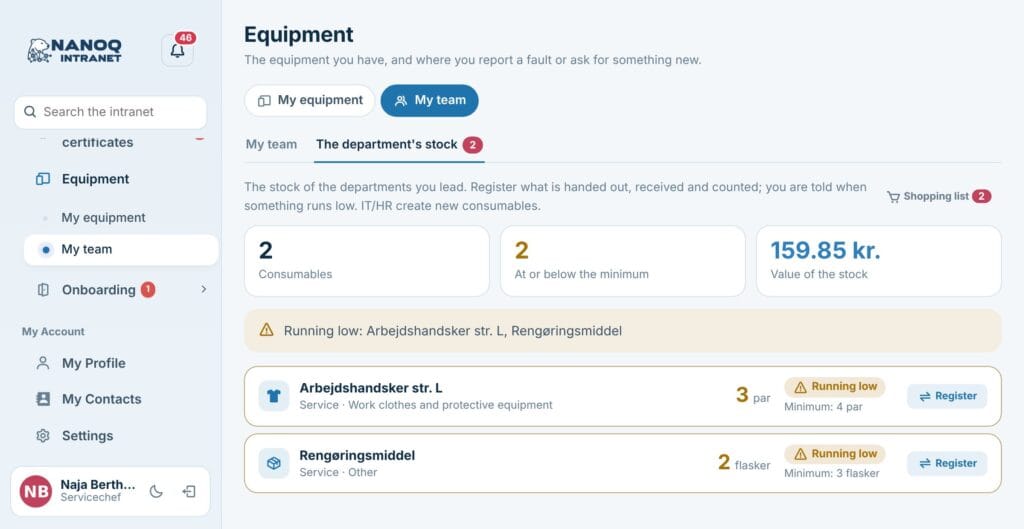
- Department: a consumable can belong to a department or to the Shared stock. The department’s leaders see the tab The department’s stock under My team, register what is handed out, received and counted, and are notified when something runs low. Employees can ask for the shared stock and their own department’s.
- Price per unit, supplier and Order up to are on the consumable – and the value of the stock is shown at the top.
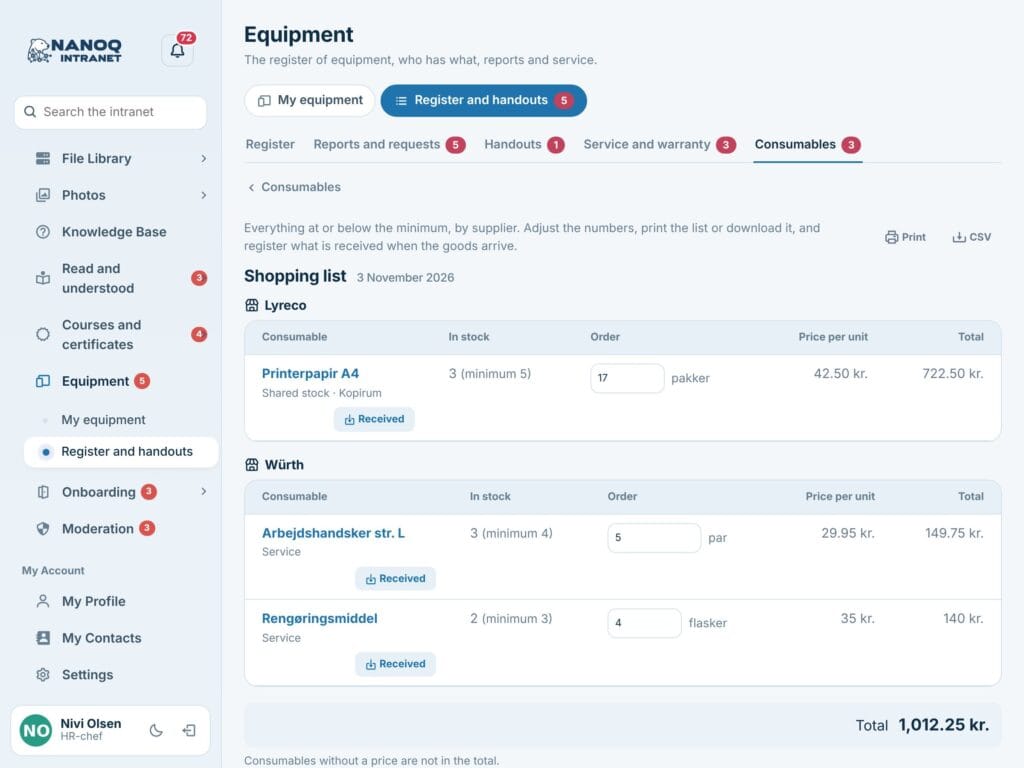
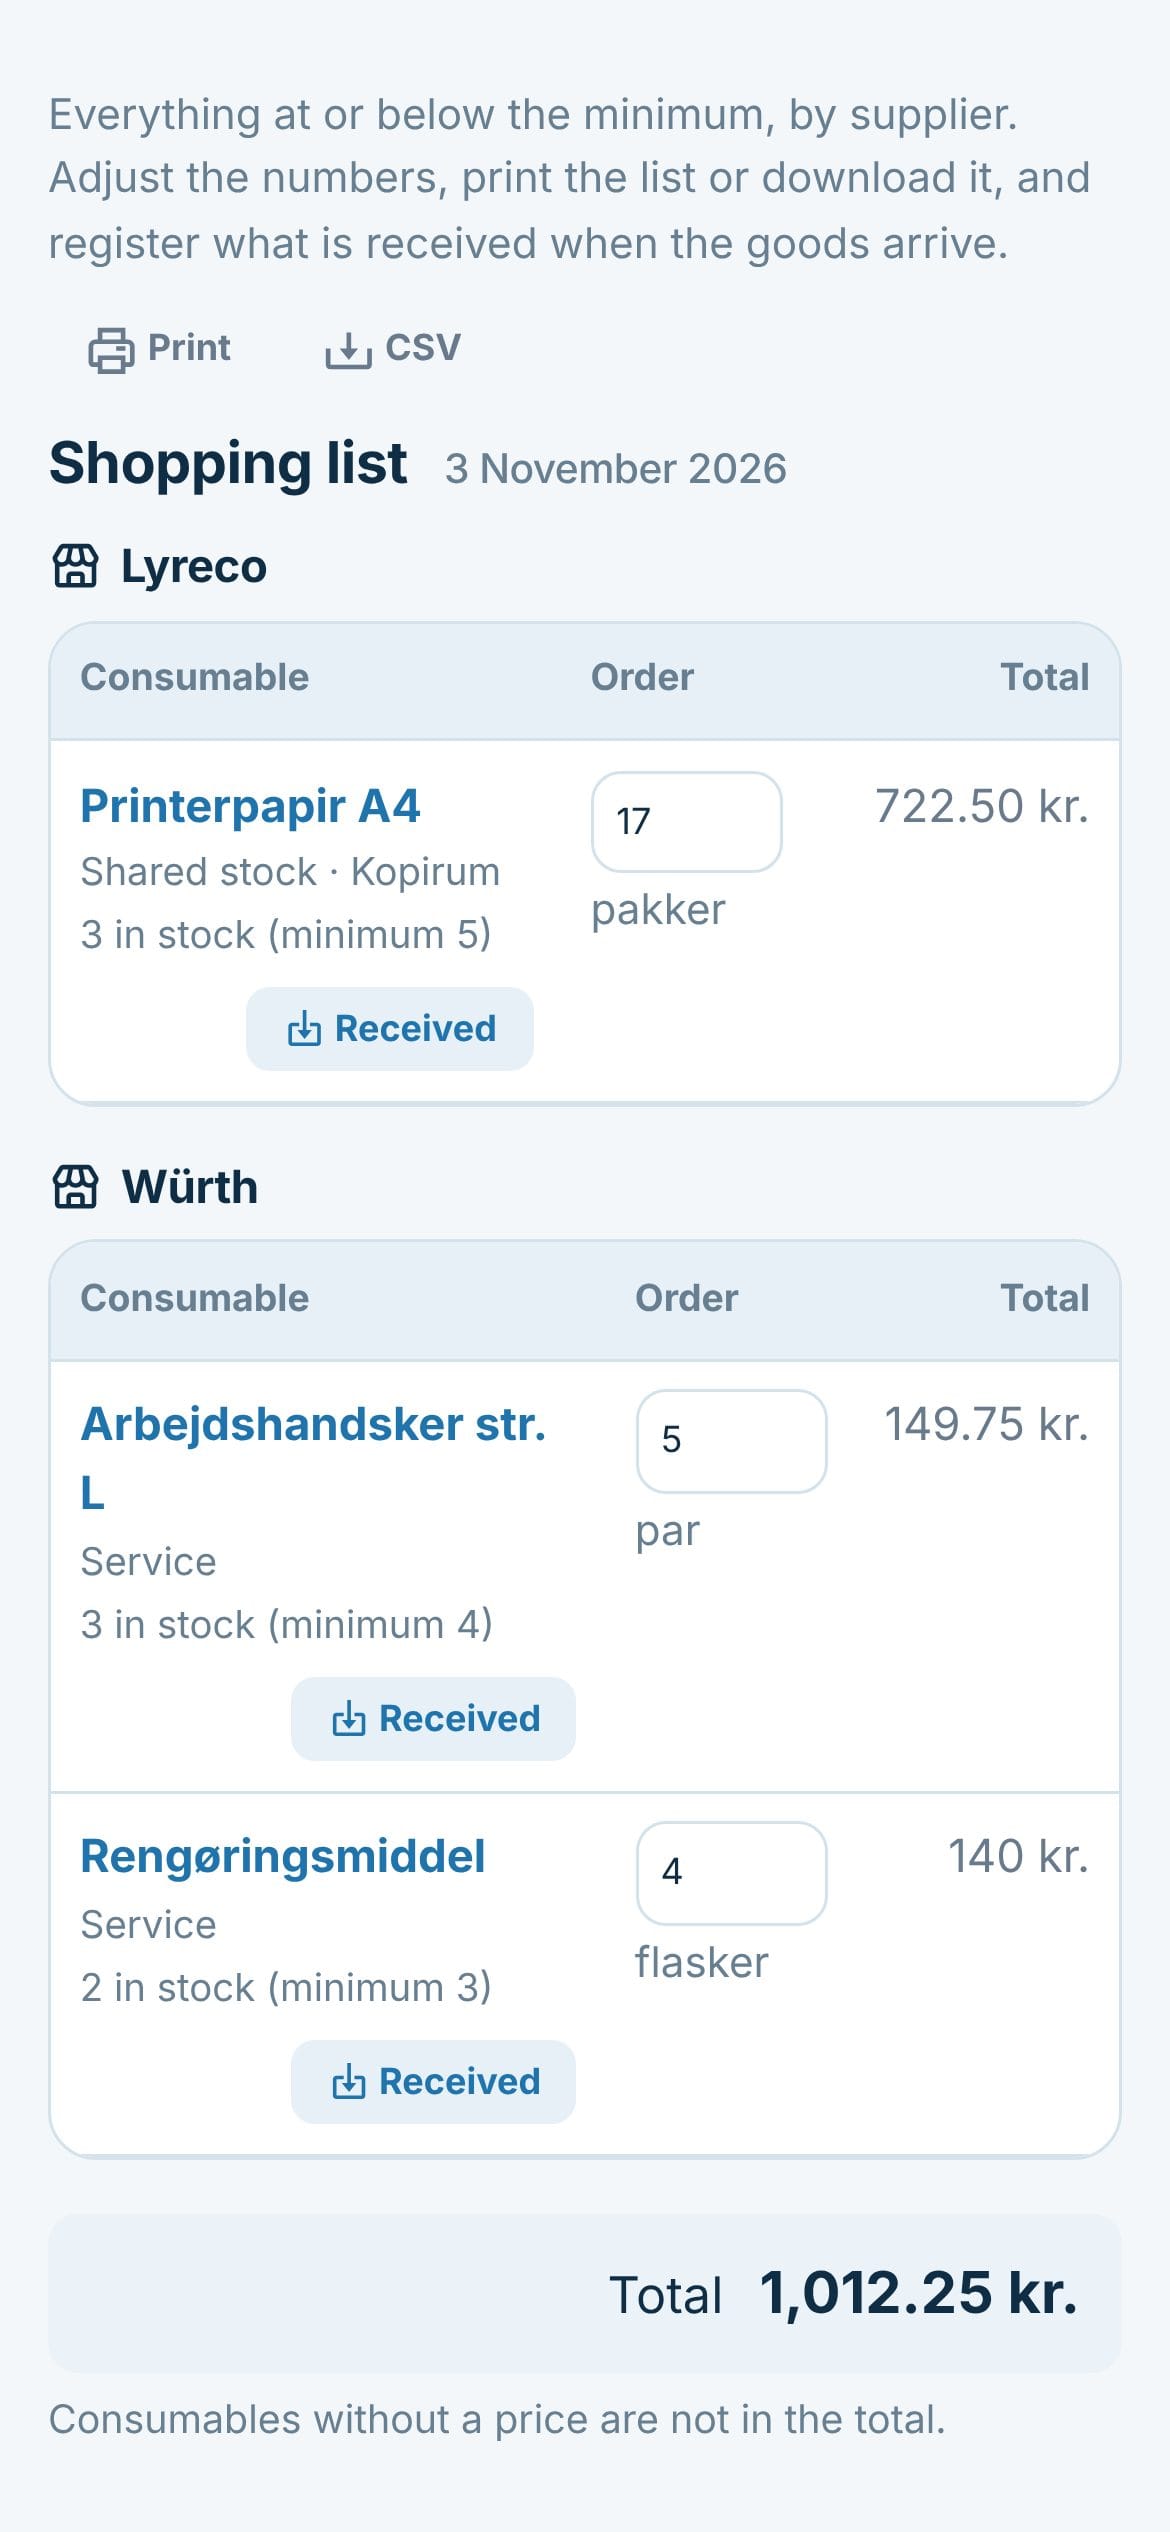
- Shopping list: everything at or below the minimum, by supplier and with prices. Adjust the numbers, click Print or download the CSV, and click Received when the goods arrive.
QR label
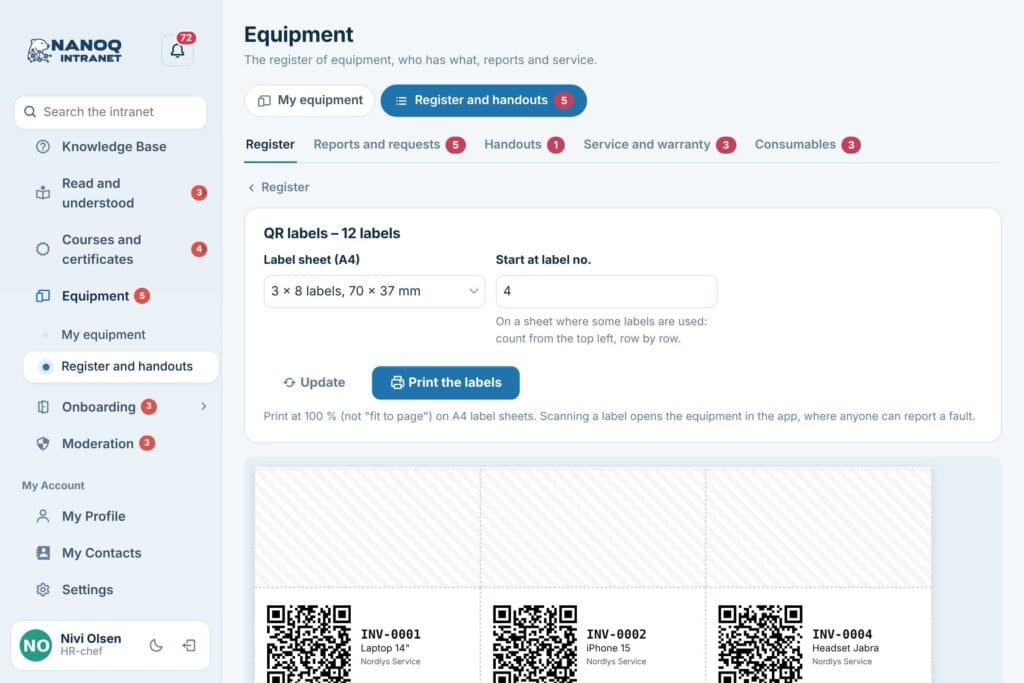
The equipment page has a QR label with the inventory number and name. Click Print label and put it on the equipment. When it is scanned, the equipment opens in the app, where anyone can report a fault.
Many labels at once: tick the equipment in the Register and click QR labels (without ticks, everything in the list is included). Choose the sheet – 3 × 8 or 3 × 7 labels on A4 – and Start at label no. if the sheet has been used, and click Print the labels. Print at 100 %.
For administrators
Under Nanoq → Equipment and inventory in wp-admin you turn the module on and choose the IT/HR people, whether employees must confirm receipt, whether they may request equipment, whether department leaders see their members’ equipment, extra categories and which roles are not included. The module is off until you turn it on. The shortcode [nanoq_equipment show="mine"] or show="reports" shows equipment or reports on an ordinary page.
Good to know
- Price, supplier and serial number are only shown to IT/HR and the person who has the equipment.
- Equipment that has been handed out can’t be deleted – it is scrapped, so the history is kept.
- When an employee leaves, the offboarding shows the equipment that must be returned.